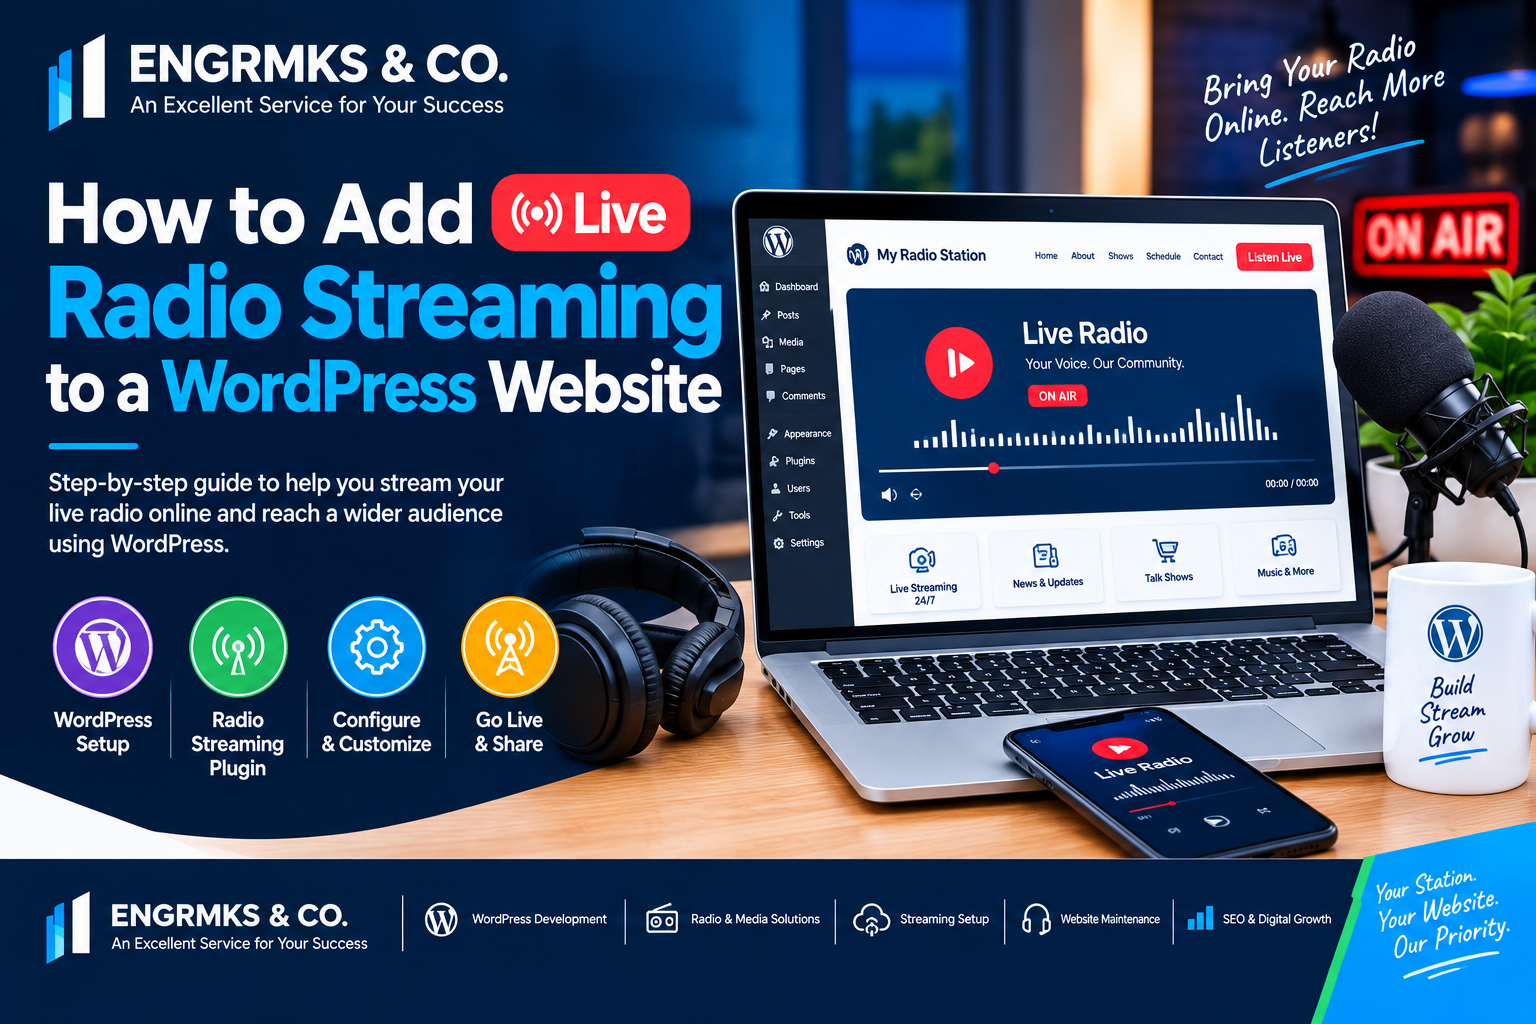
How to Add Live Radio Streaming to a WordPress Website
Introduction
Radio is no longer limited to FM and AM frequencies.
Today, a radio station can broadcast to listeners through smartphones, computers, tablets and other internet-connected devices from virtually anywhere. For radio stations, podcasters and digital media publishers, having a website with a live radio streaming player can turn a traditional website into a complete digital broadcasting platform.
WordPress makes this process relatively straightforward because it can embed audio players and external media services. The WordPress Audio block, for example, supports adding audio from the Media Library or an external URL.
However, there is an important distinction:
Adding an audio player to WordPress is not the same thing as creating a live radio stream.
A live radio station normally needs a streaming source or streaming server first. WordPress then provides the website and player through which listeners access that stream.
So, if you are wondering how to add live radio streaming to a WordPress website, this guide explains the process from the streaming server to the final “Listen Live” button.
What Do You Need for Live Radio Streaming?
Before adding a live radio player to WordPress, you generally need four main components:
- A live audio source
- A radio streaming server
- A streaming URL
- A WordPress website with a radio player
The basic structure looks like this:
Radio Studio → Encoder → Streaming Server → Streaming URL → WordPress Player → Listener
For example, audio from your studio can be sent to a streaming server using broadcasting/encoding software. The server distributes the audio stream to listeners.
Your WordPress website then provides an easy interface for visitors to listen.
Step 1: Set Up Your Radio Streaming Server
The first step is obtaining a reliable streaming service.
Common internet-radio technologies include platforms based on Icecast and SHOUTcast, as well as managed radio-streaming services.
Your streaming provider normally gives you information such as:
- Server address
- Port
- Mount point or stream path
- Stream URL
- Username and password
- Bitrate
- Listener capacity
- HTTPS streaming options
The exact information depends on your streaming platform.
For example, your stream might eventually be accessible through a URL similar to:
https://stream.example.com:8000/radio
The actual URL should come from your streaming provider.
Why the Streaming Server Matters
A WordPress website generally isn’t supposed to function as the actual high-volume radio streaming server.
If hundreds or thousands of listeners are simultaneously listening to a station, serving the audio stream directly from ordinary shared WordPress hosting can consume significant bandwidth and server resources.
A dedicated radio streaming service or appropriately configured streaming server is therefore usually a better architecture.
Step 2: Get Your Live Stream URL
Once your streaming server is configured, obtain the public stream URL.
This URL is one of the most important components of the entire setup.
Your WordPress player needs to know where the live audio is coming from.
Depending on your streaming system, the URL could point to an audio stream using a format supported by the player and listeners’ browsers.
Before integrating it into WordPress, test the URL independently.
Make sure:
- The stream is actually live.
- Audio can be heard.
- The URL is correct.
- The stream remains accessible.
- The server supports your intended audience size.
- HTTPS is available where appropriate.
Testing the stream before adding it to WordPress can save considerable troubleshooting time.
Step 3: Choose a WordPress Radio Player
The next step is deciding how the live stream will appear on your website.
You have several options.
Option 1: Use a Dedicated Radio Player Plugin
A radio streaming plugin can provide a more professional interface than a basic audio player.
Depending on the plugin, features may include:
- Play/pause controls
- Station information
- Album artwork
- Now-playing information
- Volume control
- Responsive design
- Popup players
- Shortcodes
- Widgets
- Playlist support
- Multiple stations
- Mobile-friendly controls
When selecting a plugin, check that it supports your particular streaming technology and stream URL.
Also check whether the plugin is actively maintained and compatible with your WordPress version.
This matters because plugins are part of your website’s security and maintenance environment.
Step 4: Add the Player to WordPress
After installing and configuring your selected radio player, enter your live stream URL.
The exact procedure depends on the plugin.
Many WordPress audio-related tools provide a shortcode, block or widget that can be placed on a page.
For example, a plugin might provide something conceptually similar to:
[radio_player stream="YOUR-STREAM-URL"]
The actual shortcode depends on the plugin you choose.
You may then place the player on:
- Homepage
- Listen Live page
- Header
- Sidebar
- Footer
- Radio programme pages
- News articles
- Dedicated streaming page
The WordPress block editor also provides a native Audio block for audio content, including externally hosted audio URLs.
However, for a continuously broadcasting radio station, a dedicated live-radio player may provide a better experience than a basic audio block.
Step 5: Create a Dedicated “Listen Live” Page
For radio stations, don’t rely exclusively on a small player hidden somewhere on the homepage.
Create a dedicated page such as:
Listen Live
or
Live Radio
This page should clearly tell visitors what they are listening to.

Consider including:
Live Radio Player
Place the streaming player prominently at the top.
Station Information
Explain:
- Station name
- Frequency
- Location
- Language
- Coverage area
- Main programmes
Current Programme
If your system supports it, display the programme currently on air.
Social Media
Include links to your social platforms.
WhatsApp Contact
For stations that interact with listeners through WhatsApp, provide a clear contact option.
Programme Schedule
Display upcoming programmes so visitors know when to return.
Step 6: Make the Player Mobile-Friendly
A significant percentage of your listeners may access the radio station from smartphones.
Therefore, your live radio player should work properly on:
- Android phones
- iPhones
- Tablets
- Desktop computers
Test the player on different screen sizes.
Make sure:
- The Play button is easy to tap.
- The player does not extend beyond the screen.
- Text is readable.
- Volume controls work.
- The player loads quickly.
- The player does not cover important page content.
A mobile-friendly player can make the difference between someone staying to listen and immediately leaving your website.
Step 7: Use HTTPS
Your WordPress website should use HTTPS, and your streaming setup should ideally provide an HTTPS-compatible stream where supported.
HTTPS provides encrypted communication between the browser and server, and WordPress strongly recommends HTTPS for site security.
This is particularly important when your website is already using HTTPS.
If the website is secure but the embedded streaming resource is delivered through an insecure connection, browsers may block or restrict the resource because of mixed-content security rules.
Therefore, when selecting a streaming provider, ask whether it supports secure streaming URLs.
Step 8: Add a “Listen Live” Button to Your Website
Make it easy for visitors to find your radio stream.
A prominent button could say:
🔴 LISTEN LIVE
or:
🎧 LISTEN TO OUR RADIO
Good locations include:
- Main navigation
- Homepage hero section
- Header
- Mobile menu
- Sidebar
- Footer
- Radio programme pages
For news websites and digital publishers that operate an online radio service, a persistent “Listen Live” button can help connect written content with audio broadcasting.
Step 9: Add the Radio Player to News and Content Pages
If you operate both a news website and radio station, consider integrating your streaming experience into your editorial ecosystem.
For example, a news article could contain a prominent link:
Listen Live: Tune in for the latest news and programmes.
You could also create programme-specific pages containing:
- Presenter biography
- Programme description
- Broadcast schedule
- Previous episodes
- Related news articles
- Podcast recordings
- Live radio player
This creates a stronger connection between your radio and website audiences.
Step 10: Add Podcast Content Alongside Live Radio
Live radio and podcasts can complement each other.
A listener who misses a programme can access a recorded version later.
Your WordPress website can therefore contain:
Live Radio + Podcasts + News + Programmes + Interviews
WordPress already provides native audio functionality for embedding audio content, while playlist functionality can organize multiple audio tracks.
For a digital media publisher, this can transform a basic radio website into a broader audio-content platform.
Avoid Autoplay Problems
Although autoplay may seem attractive, automatically playing audio when someone opens a webpage can create a poor user experience.
Visitors may be browsing quietly and suddenly hear audio from their device.
It can also be particularly inconvenient on mobile devices.
Instead, make the Play button obvious and let users intentionally start the broadcast.
If you use the native WordPress Audio block, WordPress provides autoplay and preload settings, and its documentation notes that aggressive preloading can affect page-load performance.
For live radio, a clear Listen Live button is generally more user-friendly.
Optimize the Website for Speed
Adding a live radio player should not make the entire website slow.
Pay attention to:
- Image sizes
- Plugin quantity
- JavaScript
- CSS
- Advertising scripts
- Caching
- Hosting resources
- Third-party integrations
The audio stream itself should normally be delivered by the streaming infrastructure rather than forcing your WordPress hosting account to handle every listener’s continuous audio connection.
This is particularly important for high-traffic news publishers.
Test Your Radio Stream Before Going Live
Before announcing your new online radio service, test it thoroughly.
Test on Desktop
Try Chrome, Firefox, Edge and other commonly used browsers.
Test on Android
Test both Wi-Fi and mobile data.
Test on iPhone
Make sure the player behaves correctly on iOS.
Test the Stream URL
Confirm that the stream remains available.
Test During High Traffic
If possible, test your setup under realistic listener loads.
Test Your Hosting
Check whether your WordPress hosting remains responsive while visitors are listening.
Common Problems With WordPress Radio Streaming
The Player Does Not Play
Check whether the stream URL is correct and whether the streaming server is online.
The Player Works on Desktop but Not Mobile
Check the player plugin’s mobile compatibility and whether the stream format is supported by the target browsers.
HTTPS Error
Check whether your WordPress website and streaming URL are using compatible secure connections.
Stream Keeps Disconnecting
The problem may originate from the streaming server, network connection, encoder or insufficient server resources.

Website Becomes Slow
Check your WordPress hosting resources, plugins, scripts and caching configuration.
Player Displays but Has No Sound
Check the stream source, browser permissions, volume controls and streaming server configuration.
Best Setup for a Professional Online Radio Website
For a radio station or digital media publisher, a practical architecture is:
Studio
↓
Broadcast Encoder
↓
Icecast / SHOUTcast / Managed Streaming Server
↓
Live Stream URL
↓
WordPress Radio Player
↓
Website Visitor
This separates broadcasting infrastructure from the website itself.
The WordPress website becomes the station’s digital hub, while the streaming server handles the actual audio distribution.
Final Thoughts
Learning how to add live radio streaming to a WordPress website does not mean turning WordPress into a radio streaming server.
Instead, the most practical setup is to connect your WordPress website to a reliable streaming service or server and use a suitable radio player to make the stream accessible to visitors.
The basic process is:
Set up streaming → Get stream URL → Install/configure radio player → Add player to WordPress → Create Listen Live page → Test on mobile and desktop → Promote the station
For radio stations, podcasters and digital media publishers, this can provide a powerful way to combine live broadcasting, news, podcasts and on-demand audio in one digital platform.
With the right streaming infrastructure, a responsive WordPress website and a well-designed player, your station can give listeners a simple way to tune in from virtually anywhere.
Frequently Asked Questions
Can I add live radio streaming to any WordPress website?
In most cases, yes, provided you have a compatible live streaming source and a player that supports the stream format.
Do I need a radio streaming server?
For a genuine live radio station, you normally need a streaming service or server that receives your broadcast and distributes it to listeners. WordPress can then provide the website and player interface.
Can I use a normal WordPress hosting account for radio streaming?
It is generally better to separate the live audio distribution from ordinary WordPress hosting, particularly when you expect many simultaneous listeners. Your hosting provider’s resource limits should also be considered.
Can I use Icecast with WordPress?
Yes. An Icecast server can provide a stream URL that can be integrated into a compatible WordPress radio player. The exact integration depends on the player or plugin being used.
Can I add both live radio and podcasts to WordPress?
Yes. WordPress supports audio content and playlists, making it possible to combine live radio with recorded programmes, interviews and podcasts.
Should my radio website have a dedicated Listen Live page?
Yes. A dedicated page gives listeners an obvious destination for the live stream and can also contain programme schedules, presenter information, WhatsApp contact options, social links and other station information.